


Using Mission Control Spaces is one of the best ways to organize multiple desktops on your Mac.
Mission Control is one of the best ways to manage your windows on macOS Big Sur. Not only is Mission Control one of the fastest ways to view all your open windows and apps on a desktop, but it also allows you to create Spaces.
Mission Control Spaces are essentially different iterations of your desktop that can all display different apps and windows. If you find your current desktop is getting a little crowded, but you don't want to close the apps and windows you've got open, you can create a brand new Space to work with. Some people will even create Spaces for different tasks — you might have your Space for writing, your Space for browsing the web, and your Space for editing photos. This customization can make your great Mac even better for accomplishing your day-to-day tasks. Here's how to use Mission Control Spaces on Mac.
How do you launch Mission Control on Mac
Before you get started using Spaces, you'll need to make sure you know how to launch Mission Control on your Mac. The good news is there is no shortage of ways to launch Mission Control regardless of which Mac you use. So whether you use a Magic Mouse with an iMac, prefer using a keyboard shortcut on your MacBook Air, or want to open it like any application, here's a list of options for launching Mission Control.
- Swipe up with three or four fingers on your MacBook trackpad.
- Double-tap on the top of your Magic Mouse with two fingers.
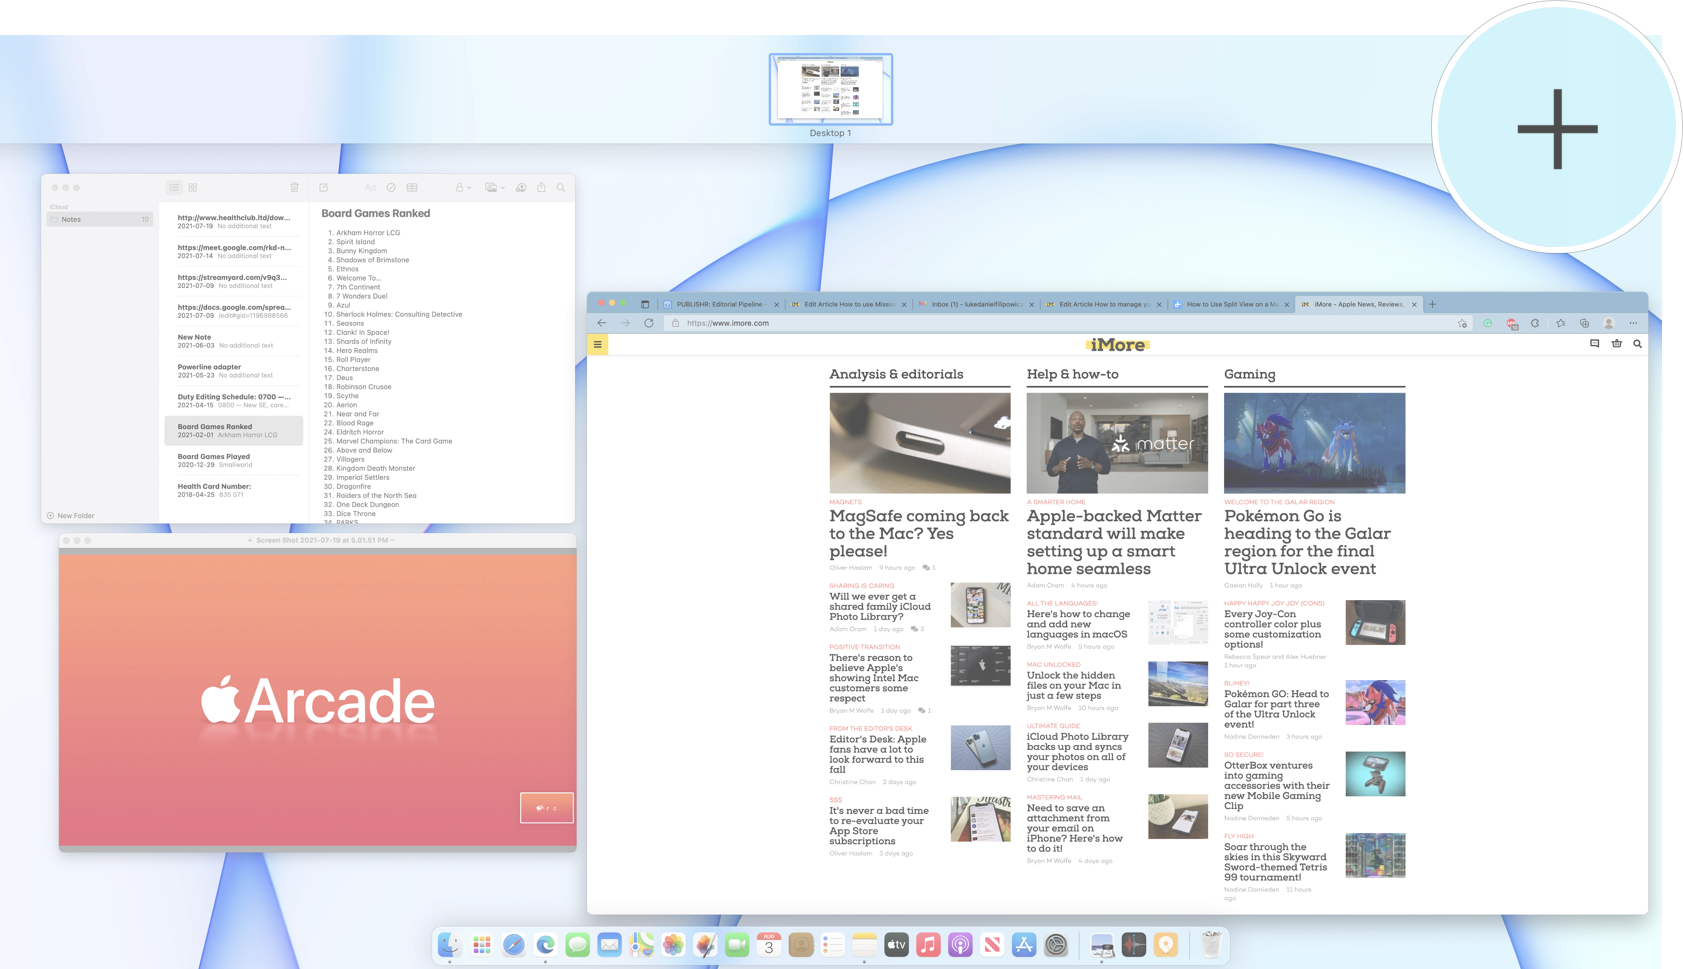
- You can click the Mission Control icon from the Dock or Applications folder.
- Press the Mission Control key (F3) on your keyboard (it looks like three rectangles of varying sizes).
- Use the keyboard shortcut Control (⌃) + Up Arrow.
- Click and drag a window to the top of the screen.
Whichever method you choose will net you the same results, so feel free to find the one you like best.
How to add a Space in Mission Contol on Mac
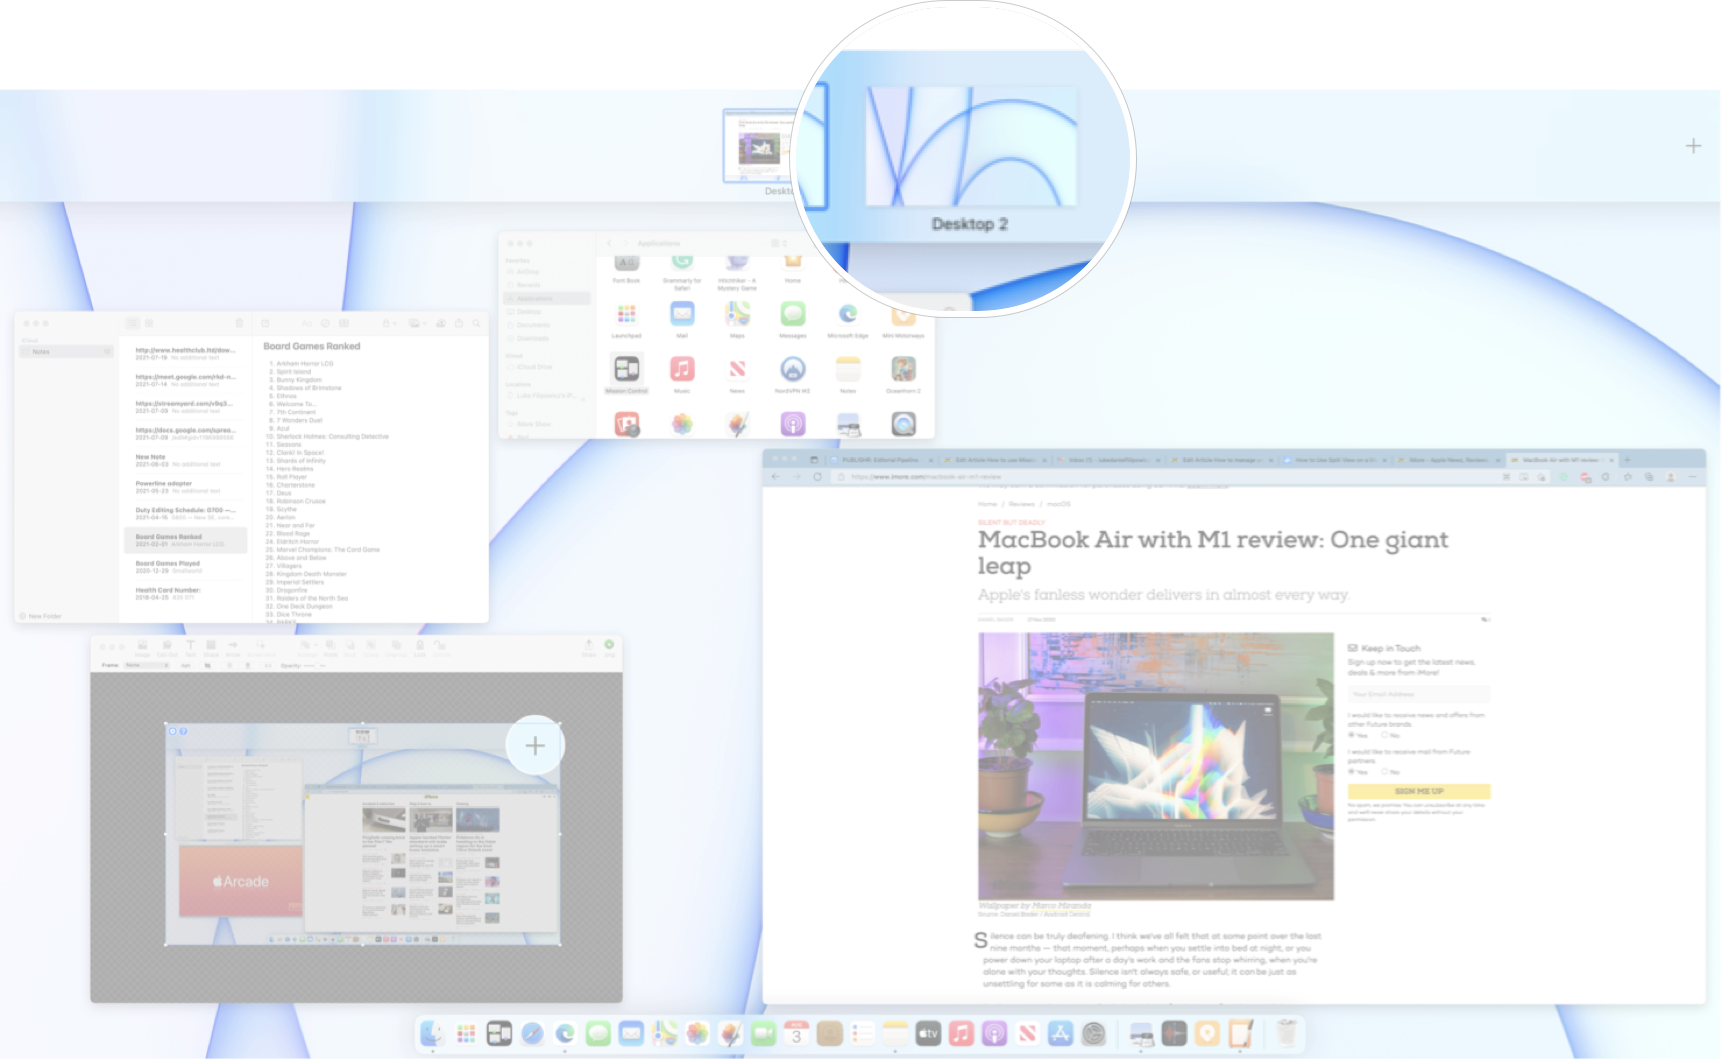
- Launch Mission Control using your preferred method.
-
Click the + (add button) in the top right corner of your screen.
Now you've added a Space, and you have a whole new desktop view you can use to your heart's content.
How to switch between Spaces in Mission Control on Mac
Once you've created one or more Spaces in Mission Control, you'll likely want to switch between them. You can switch between Spaces at any time from Mission Control.
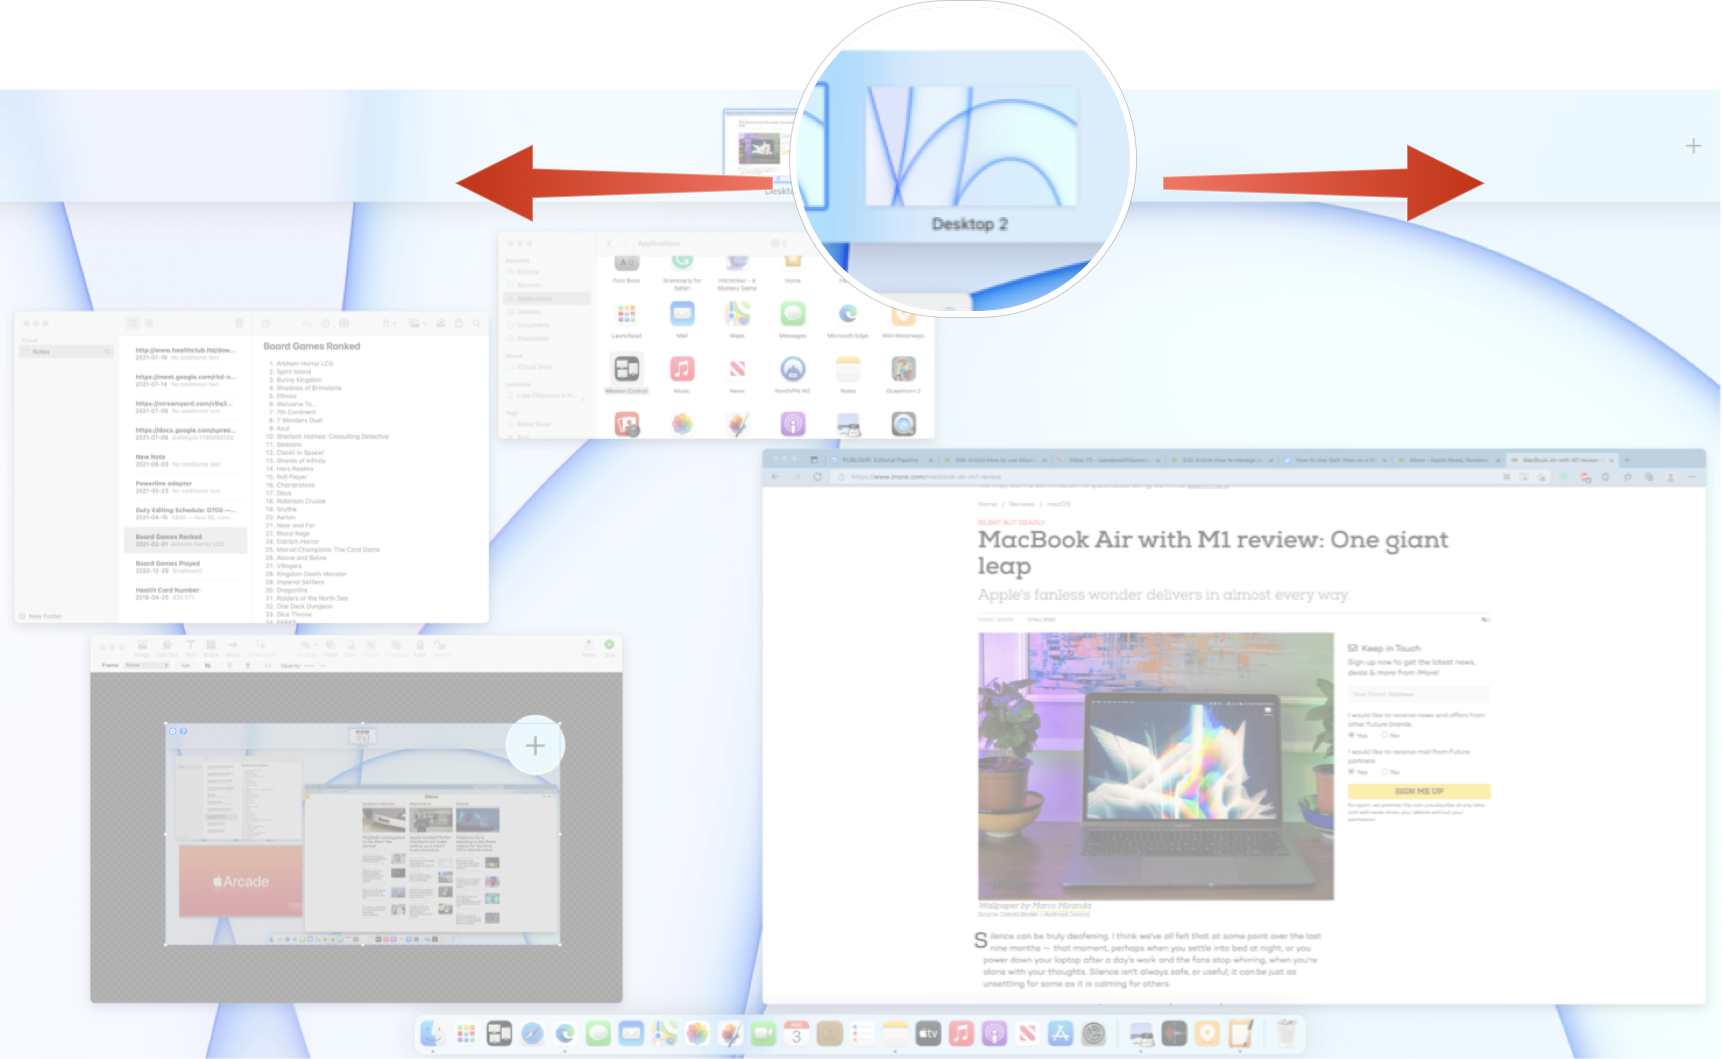
- Launch Mission Control using your preferred method.
-
Click the Space you want at the top of your screen.
If you prefer switching through your Spaces even faster, there are tons of other ways to do it. Here's a quick list!
- Swipe left or right with three or four fingers on your MacBook trackpad.
- Swipe left or right with two fingers on your Magic Mouse.
- Use the keyboard shortcut Control (⌃) + Left Arrow to move to space to the left.
- Use the keyboard shortcut Control (⌃) + Right Arrow to move to space to the right.
How to organize Spaces in Mission Control on Mac
Once you have multiple Spaces, you may find it useful to reorganize them in the order you want. This will allow you to have better control over which Spaces appear as you switch through them.
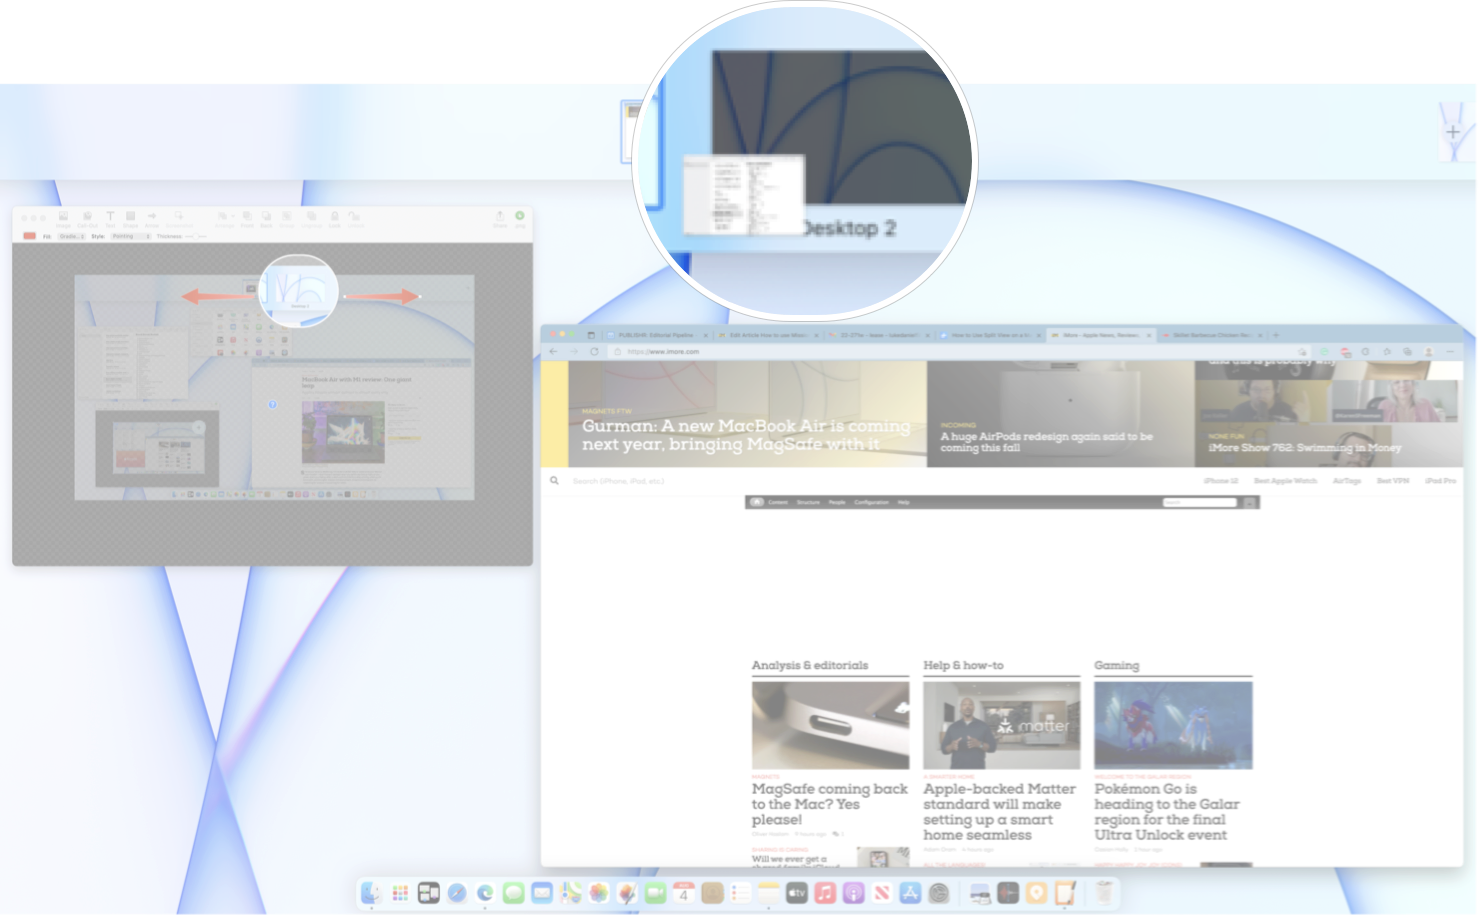
- Launch Mission Control.
-
Click and drag the Space you want to move left or right at the top of your screen.
How to move a window between Spaces in Mission Control on Mac
If you want to move a window to a different Space, you can do so at any time.
- Launch Mission Control.
-
Drag a window of your choice to a Space at the top of the screen.
How to remove Spaces in Mission Control
When you're doing using a Space, you can easily remove them whenever you want.
- Launch Mission Control.
- Hold down the Option (⌥) key
-
Click the X next to the Space you want to close.

Remember that windows within the Space you're closing won't be closed; they'll be moved to another open Space.
Any questions?
Let us know if you have any questions about Mission Control Spaces in the comment section down below.

0 comments:
Post a Comment