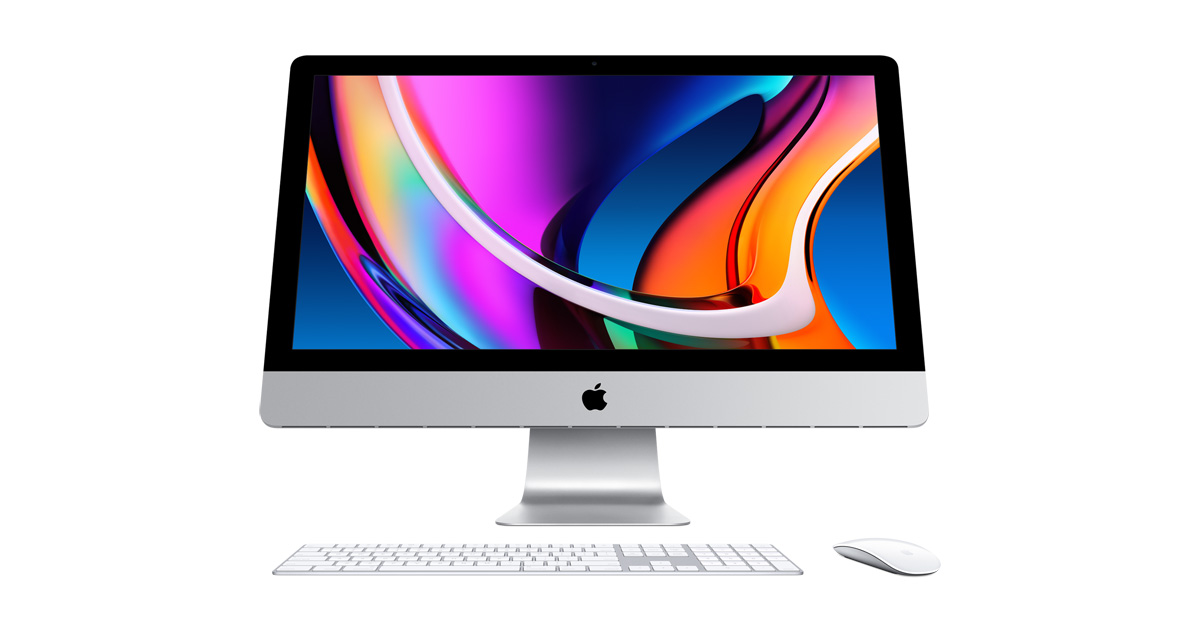
With the introduction of macOS Sonoma, Apple has extended support for home screen widgets to its Mac operating system. Previously, these app widgets were confined solely to the notification center. However, just like on your iPhone and iPad’s home screens, you can now incorporate your favorite app widgets directly onto your Mac’s desktop. In this guide, we’ll walk you through the straightforward process of adding desktop widgets in macOS Sonoma on your MacBook or Mac device.

Widgets, designed to be user-friendly and easy to use, offer a quick means of accessing information or executing tasks. They were previously relegated to a secondary desktop called Dashboard. Now, these widgets can be seamlessly integrated into the Notification Centre on your Mac. This allows you to keep tabs on your schedule, preferred devices, weather updates, top headlines, and more, right on your desktop.
Accessing the Notification Centre is simple. Click the date and time on the menu bar or swipe left with two fingers from the right edge of your trackpad. To close it, click anywhere on your desktop.
Here’s how you can add widgets to the Notification Centre on your Mac:
- Open the Notification Centre on your Mac.
- At the bottom of the Notification Centre, click on “Edit Widgets.”
- In the widget categories list, either search for a widget or click on a category like “Clock” to see available widgets. Some widgets are available in different sizes, offering distinct information.
- To add a widget to your active set of widgets, hover over it in the preview and click the “Add” button. You can drag the widget up or down to change its position. To remove a widget, click the “Remove” button.
- Once you’re done adding widgets, click “Done” at the bottom of the active widgets section.
Remember that not all widgets can be added to the Notification Centre, and some might require additional permissions to function properly. Customization options may also vary depending on the developer.
For an even broader selection of widgets and advanced customization, you can explore WidgetWall. This platform offers the convenience of centralizing all your widgets and even converting websites into widgets for your Mac. This means you can access your favorite websites without having to open a browser. To get started:
- Install and open WidgetWall.
- Click the “+” icon to add a widget.
- Choose the desired widget from the options, and you can also use the search bar to find specific widgets.
- Customize the widget by clicking on the gear icon and adjusting settings.
- The added widgets will stack on the left side of your screen, but you can easily drag them to any location on your desktop.
Now, if you’re wondering how to directly place widgets on your Mac desktop, it’s possible but not recommended due to potential complications and compatibility issues, especially with newer macOS versions. Enabling Dashboard Development Mode or using Terminal commands can be complex and risky for system settings. A safer and simpler approach is to utilize apps like WidgetWall, which automates the process of placing widgets on your desktop. Once the app is installed and opened, widgets will automatically appear on the left side of your screen. You can then freely move them around as per your preference.
When it comes to selecting widgets for your Mac, there’s a wide array available, each with its unique features and functionalities:
- Weather: Displays current weather conditions and forecasts for your location.
- Calendar: Shows your upcoming events and appointments.
- Calculator: Enables basic calculations without launching a separate app.
- Battery: Displays your MacBook’s battery level and status.
- World Clock: Lets you keep track of time across different time zones.
- Music: Allows you to control music playback and view song information.
To remove widgets from the Notification Centre:
- Open the Notification Centre.
- Hold the Option key while hovering over the widget you want to remove, then click “Remove.”
Customizing widgets in the Notification Centre involves these steps:
- Open the Notification Centre.
- Click “Edit Widgets” at the bottom.
- Adjust the information a widget displays or change its size as needed.
- Click “Done” when you’re finished customizing.
Widgets in macOS Big Sur and later are integrated into the Notification Centre, which no longer has a separate icon in the menu bar. To access both notifications and widgets, simply click the time in the upper-right corner of your screen. The Notification Centre is split into two sections: the top half shows notifications, while the bottom half displays your widgets.
In conclusion, adding widgets to your Mac desktop has become more seamless with macOS Sonoma. By following these uncomplicated steps, you can easily customize your desktop with a range of widgets, enhancing your productivity and information accessibility. Utilizing apps like WidgetWall simplifies the process even further, making widgets an integral part of your daily Mac experience.
The post How To Add Widgets to Mac Desktop </br> <span style='color:#6A6A6A;font-size:20px;font-style: italic;font-weight: 400;'>A guide on Adding Widgets to Mac Desktop</span> appeared first on TechStory.


0 comments:
Post a Comment