


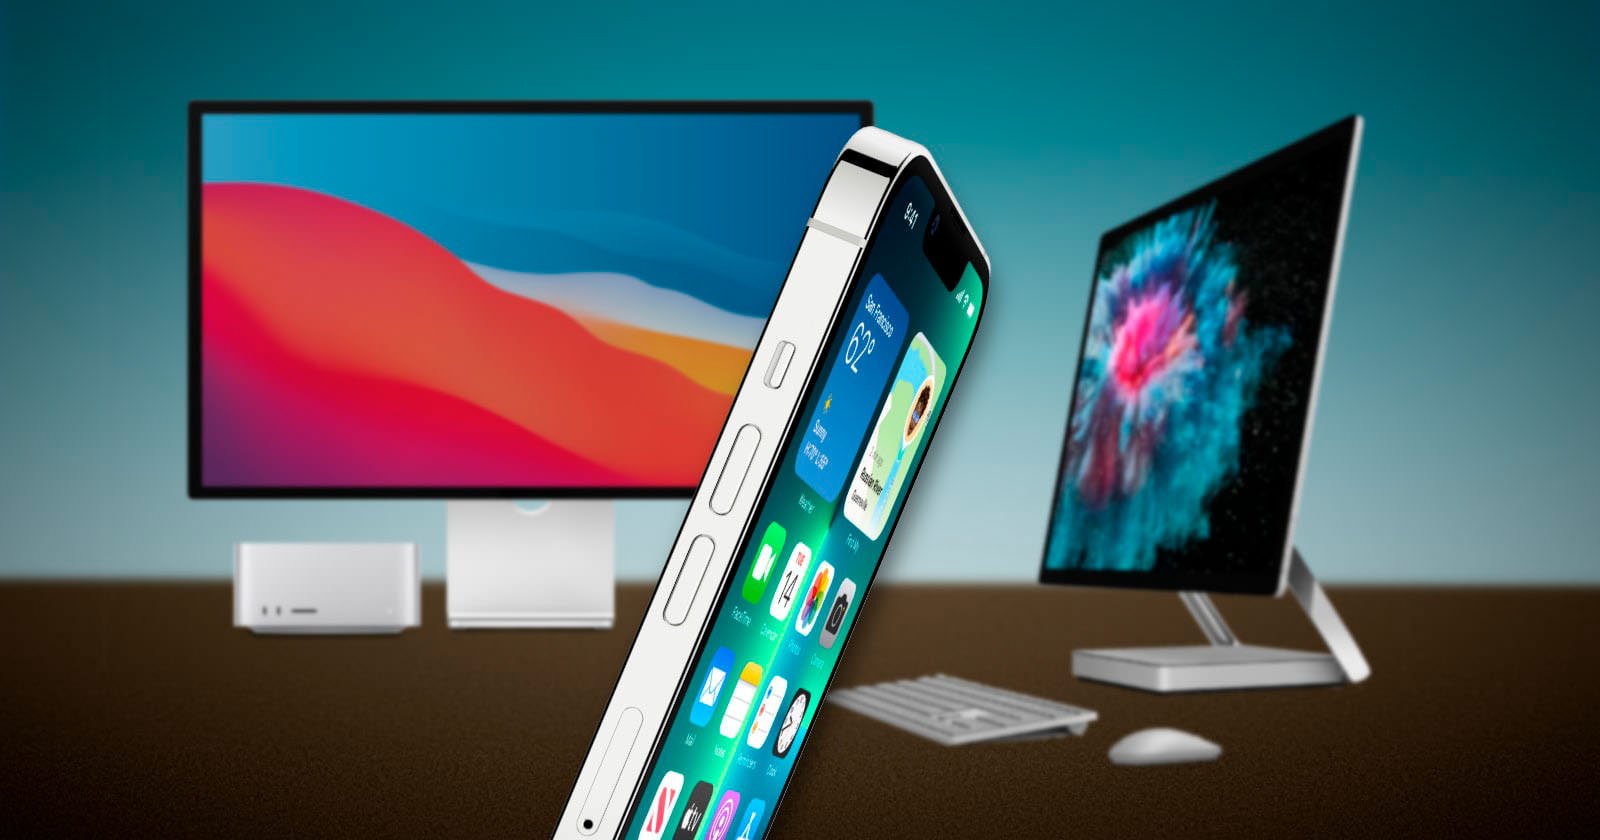
In the period of advanced photography, our iPhones have turned into our dependable associates, catching the valuable snapshots of our lives with shocking clearness. Be that as it may, as our photograph assortments develop, so does the need to productively oversee and store them. Transferring photographs from your iPhone to your PC is an essential undertaking that permits you to let loose space on your gadget while protecting your recollections. In this blog, we’ll investigate different easy to use strategies to easily move photographs from an iPhone to a PC.
Strategy 1: Utilizing a USB Link and iTunes
The exemplary technique for moving photographs from your iPhone to a PC includes utilizing a USB link and the iTunes application. Here is a bit by bit guide:
- Interface your iPhone to your PC utilizing a USB link.
- In the event that iTunes doesn’t open consequently, send off the application on your PC.
- Your iPhone will be perceived by iTunes. Click on the gadget symbol situated close to the upper left corner.
- In the left-hand sidebar, under the “Settings” segment, select “Photographs.”
- Actually take a look at the container close to “Sync Photographs” and pick the envelope or application you need to match up photographs from. You can choose your Photographs application or a particular envelope.
- Select whether you need to match up your whole library or explicit collections and envelopes.
- Click on the “Apply” or “Sync” button at the base right corner to begin the exchange cycle.
Technique 2: Utilizing the Photographs Application (Windows)
For Windows clients, the Photographs application gives a basic method for bringing in photographs from your iPhone. Follow these means:
- Interface your iPhone to your PC utilizing a USB link.
- Open your iPhone and, whenever provoked, tap “Trust” to lay out the association.
- On your PC, open the Photographs application. You can look for it utilizing the Windows search bar.
- Click on the “Import” button situated at the upper right corner of the Photographs application.
- The Photographs application will consequently recognize your iPhone and show the accessible photographs for import.
- Pick the photographs you need to import or choose “Import All.”
- Click the “Proceed” button and select the objective envelope where you need to save the imported photographs.
- Click the “Import” button to begin the exchange interaction.
Strategy 3: Utilizing iCloud Photographs
iCloud Photographs is a cloud-based arrangement that permits you to flawlessly match up and get to your photographs across the entirety of your Apple gadgets. This is the way to set it up:
- On your iPhone, go to “Settings” and tap on your Apple ID at the highest point of the screen.
- Select “iCloud,” then tap on “Photographs.”
- Switch on “iCloud Photographs.” This will transfer your iPhone photographs to your iCloud stockpiling.
- On your PC, open an internet browser and go to the iCloud site (icloud.com).
- Sign in with your Apple ID and secret phrase.
- Click on the “Photographs” symbol.
- You can now see and download your iCloud photographs. Select the photographs you need to download and tap on the download symbol (a cloud with a bolt pointing down).
Technique 4: Utilizing Outsider Applications
There are a few outsider applications intended to improve on the method involved with moving photographs between an iPhone and a PC. One famous choice is the Google Photographs application:
- Download and introduce the Google Photographs application on your iPhone from the Application Store.
- Open the application and sign in with your Google account. On the off chance that you don’t have a record, you’ll have to make one.
- Tap on the three level lines (cheeseburger menu) to open the application’s menu.
- Select “Settings,” then tap on “Back up and adjust.”
- Switch on the “Back up and match up” choice. This will transfer your photographs to your Google account.
- On your PC, open an internet browser and go to photos.google.com.
- Sign in with a similar Google account.
- You can now see and download your transferred photographs. Select the photographs you need to download and tap on the download symbol.
End
In the present advanced age, knowing how to move photographs from your iPhone to your PC is a fundamental expertise that permits you to actually oversee and protect your recollections. Whether you pick the exemplary USB and iTunes strategy, the easy to use Photographs application on Windows, the comfort of iCloud Photographs, or the flexibility of outsider applications like Google Photographs, there’s an answer for each inclination. In this way, keep your recollections protected and coordinated by excelling at moving photographs easily from your iPhone to your PC.
The post How to upload photos from iphone to computer appeared first on TechStory.


0 comments:
Post a Comment